I changed the sheets and changed the quilt. So, I'm linking with all the other quilts at Bonnie Hunter's Quiltville. I would love to see what's on your bed, so if you haven't already,
please link to yours at Bonnie's blog. I would love to see more. (I've
been looking at a few every day, and I think the linky party is open
for a couple more days.)
This quilt is one of my all time favorites. It's called Anemone and was made between 1992 and 1996.
It was inspired by a quilt that had appeared in an old E. P. Dutton quilt calendar. If I remember correctly, That Patchwork Place published a similar quilt in one of their books that was as much about history as it was about quiltmaking.
This was made the old-fashioned way; drafting the pattern with pencil and compass, tracing templates on plastic, drawing around each one on fabric, pieced by hand for the most part. The circles containing the sunflower were pieced rather than appliqued or reverse appliqued. It was set together by machine.
I carried little baggies of fabric, needle, thread, scissors, and thimble everywhere I went for several years.
Aside from the colors, my favorite parts are the 3/4 compasses at each corner and the 1/2 compasses at the center of each border.
I like the fact that the blocks are all different and that the fabrics are from many fabric lines. While there are quite a few Hoffman fabrics in this quilt, it also contains fabrics from SSI, P&B, Alexander Henry, and quite a few other manufacturers.
I'm pretty sure I started it when I was living in Gallup, NM and continued working on it when I moved to Arizona and back to NM. While in Gallup, I was part of a great quilt guild, and had been in Arizona for a while when I received a call alerting me to the fact that my name had reached the top of the list to have one of my quilts quilted. I finished assembling the top, carefully drafted a feather border, purchased more fabric for the backing and sent it off with my favorite (at that time) batting, Mountain Mist Quilt Light.
I can still see some of the white pencil I used in the feathers; and I'm certain my name was uttered less than favorably many times during the quilting process. One of the reasons this quilt is so special to me is that so many very special friends helped quilt it, too many of whom have now passed on. (One of my Sweet Teen's middle names is Margrette for one of the many dear quilters who befriended me when I lived there.)
Ah, the sweet memories of sweet blessings that live on in our quilts.......
Friday, April 13, 2012
Finished Quilt: Cherry Season is Coming
Judy came to my rescue with three quilts for me to treadle-quilt. (I do have one of my quilts almost ready to quilt, but I didn't want to wait that long to get in some quilting.)
This is a very simple star made from half-square triangles. With its border, it's about 40 inches square.
It jumped to the head of the line because of that wonderful cherry fabric. I thought it might be a Mary Engelbreit fabric, but it wasn't. When my mother was shopping for fabric, she'd look at a blank selvedge or one that contained no more information than this and say, "Hmmph! I guess they're not very proud of it!"
Here's a close-up of one of the quilted corners. I lay in the spines first by stitching the left side of the spine from top to bottom and then add the feathers as I travel up the left side. For the first border, I stop the spine at about the same level as I estimate the tip of the last feathered border will be. Then when I'm all the way around the quilt (four separate long feathers), I go back and add more stitching so that it's base meets the other feather just before it turns the corner. The quilting shows up pretty well in this green thread.
Because so many of my quilts are for our prayer quilt ministry, I love the symbolism of the new feather on each side, since when life demands that we turn a corner, we start a new journey that's still connected to the former one.
I quilted the star rhomboids in the red thread.
The triangles and squares around the star were quilted in the neon green.
The quilting on the green shows up a lot better in the photographs than the red thread does.
I think this is a case of "you had to be there to see it"......as well as "whatever appears wonky" is due to lack of skill on the part of the photographer.
When I quilted this quilt, I did the quilting in red on the absolutely wonderful vintage Necchi BU that Polly used and protected for years before passing it on to me. The treadle irons and cabinet are the ones that were on my 1919 Singer Redhead. The irons make little clunks as I treadle them, and I don't know if that is just characteristic of that model of irons or if I need to do some more maintenance and adjusting on them. The green quilting was done on the once unloved and orphaned vintage Vittorio Necchi BU with countless mechanical issues that I rescued last summer. I thought I'd never get it unfrozen and stitching again, but it's pretty happy quilting in my set of 1936 Singer irons although the machine has countless weird quirks and pieces that confirm that if it had ever really belonged to her grandmother, the previous custodian or one of her siblings had used it for personal experiments in engineering and mechanics. The irons in which I'm using it are a straight-leg model, and they treadle almost soundlessly, smoothly, and effortlessly.
The green quilting shows up much better than the red, even on the back. The straight line of stitching is where I stabilized the quilt first. I usually use a very fine thread, but I since buy that thread in just neutral colors, I didn't have any of the colors that would have made the stabilizing more discreet. On the front, even with the Glide thread, the stabilizing is nearly invisible.
These are the two colors of Fil-Tec Glide thread that I used: the red is #90186, and the green is #60398. When the green arrived, it was much brighter than I expected, and I thought I should only have purchased a 1,000 yard spool. However, this green has worked well on quite a few fabrics, not just bright fruity or cotton-candy colors. And it's far from neon-looking on this fabric.
And here's one more little homemade treat. Because these thread colors are just so gorgeous, after I pull a few yards off the end of a bobbin or have a little coffee filter full of thread ends from a quilting project, I often stuff them into a glass ornament. After making a quilt for a baby, this makes a great first ornament--and of course, you can stuff other bits and pieces in there too. (The glass ornaments are becoming very difficult to find, so if you want to try this, you might want to check out crafters' yard sales and thrift stores.)
And someday (there's always a someday, isn't there) I'm going to take all the filled ornaments I've kept and attach them to a holiday wreath for my sewing room.
I'm going to join some linky parties with this post. It's always fun to make new friends!
Sew Many Ways
Can I Get a Whoop Whoop
Minutes for Me
Finish It Up Friday
Sew Many Ways
Can I Get a Whoop Whoop
Minutes for Me
Finish It Up Friday
Post Script: The sun was streaming through a west window yesterday, and it enabled me to capture some more details of the quilting:
Thursday, April 12, 2012
Fil-Tec Threads are Here!
My new threads are here! I ordered these last weekend, but for some reason something on my card caused a problem, so I received a personal phone call early Monday morning. (I think what happened is that I keyed in my phone number and missed a digit.)
I ordered several shades of Bobbin Line for piecing and stabilizing--and background-quilting.
I ordered some small spools and large spools of Glide Thread, one of my very favorites for quilting.
I ordered, among others, a cream and a pearl--I think I could have been just as happy with just one, but they will get used.
Then I ordered a couple of their mini-spools. Mind you, their "mini-spools" are 1,000 meters, so they are mini only in comparison to their 5,000 meter spools.
Then I ordered a spool of their Affinity--which is the same fiber and denier as Glide, except in variegated colors that change every inch.
I ordered a new color card, because my old one is several years old and contains only Glide colors. The new card includes affinity and glisten, which is their metallic thread. I have not tried their glisten thread because I almost never quilt with metallic thread anymore.
Some of their shades of Bobbin Line now are put up not only in 3,900 yard spools, but also in "large" spools. Large spools have 8,200 yards!
I like to match my top thread to my bobbin thread, so I usually wind my own bobbins. However, some day I'm going to be quilting several quilts with white thread, and I'll splurge and order some of their pre-wound bobbins. Their smaller [L-type/size] Magna-Glide bobbins are wound just on a magnetic core but they work just great in my vintage class 15 bobbin cases. I can attest to that because once they posted on Facebook that they were giving some away and sent me one of each type. I looked at it and thought, I'm not so sure that will work. A few weeks ago I needed a few more inches of thread, popped in the Magna-Glide bobbin, and it worked great. The idea behind the magnetic core is that the thread will come off the bobbin very evenly with no jumps or glitches in the bobbin tension. And they do, even on old vintage machines! How cool is that!
(And, no, I don't work for them. But I do love the fact that they are a North American company and all their manufacturing is done here--and that they have great customer service!--Oh, yeah, I love their threads too!)
Okay, I'm re-charged now, so I'm going to swap out the old, slightly-strange Necchi, and put my Singer 15-88 back in (more harp space), and start on Judy's Red Roses prayer quilt.
I ordered several shades of Bobbin Line for piecing and stabilizing--and background-quilting.
I ordered some small spools and large spools of Glide Thread, one of my very favorites for quilting.
I ordered, among others, a cream and a pearl--I think I could have been just as happy with just one, but they will get used.
Then I ordered a couple of their mini-spools. Mind you, their "mini-spools" are 1,000 meters, so they are mini only in comparison to their 5,000 meter spools.
Then I ordered a spool of their Affinity--which is the same fiber and denier as Glide, except in variegated colors that change every inch.
I ordered a new color card, because my old one is several years old and contains only Glide colors. The new card includes affinity and glisten, which is their metallic thread. I have not tried their glisten thread because I almost never quilt with metallic thread anymore.
Some of their shades of Bobbin Line now are put up not only in 3,900 yard spools, but also in "large" spools. Large spools have 8,200 yards!
I like to match my top thread to my bobbin thread, so I usually wind my own bobbins. However, some day I'm going to be quilting several quilts with white thread, and I'll splurge and order some of their pre-wound bobbins. Their smaller [L-type/size] Magna-Glide bobbins are wound just on a magnetic core but they work just great in my vintage class 15 bobbin cases. I can attest to that because once they posted on Facebook that they were giving some away and sent me one of each type. I looked at it and thought, I'm not so sure that will work. A few weeks ago I needed a few more inches of thread, popped in the Magna-Glide bobbin, and it worked great. The idea behind the magnetic core is that the thread will come off the bobbin very evenly with no jumps or glitches in the bobbin tension. And they do, even on old vintage machines! How cool is that!
(And, no, I don't work for them. But I do love the fact that they are a North American company and all their manufacturing is done here--and that they have great customer service!--Oh, yeah, I love their threads too!)
Okay, I'm re-charged now, so I'm going to swap out the old, slightly-strange Necchi, and put my Singer 15-88 back in (more harp space), and start on Judy's Red Roses prayer quilt.
Wednesday, April 11, 2012
Tutorial - Thread Stand
If we quilt, we like big spools of thread. If we use big spools of thread or thread that is cross wound on the spools, we need a thread stand. If we have more than one sewing machine, it's nice to have more than one thread stand.
I ordered my thread stand a couple of decades ago from Home-Sew in Bethlehem, PA, but I don't know if they still carry them. Long Creek Mills sells one just like it for a really great price, but be aware that the base is cast iron, so it is heavy to ship.
Here's the homemade one I put together this morning so that I do not have to carry it from room to room.
I began with a 3/8 inch dowel rod and a little wood stand that I picked up at Hobby Lobby years ago.
I drilled a 1/16" pilot hole into the top of the dowel rod, partially opened an small o-ring with a pair of needle-nosed pliers, and twisted it into the pilot hole until the screw threads were imbedded in the wood and the opening of the ring was at the top.
I set the base with the dowel rod down into a heavy bottomed glass I've used in my sewing room for years. It could just as easily have been placed into a jar or a piece of pottery--it just needs to be heavy enough to keep the stand from tipping.
Before placing the thread on the hook, I twisted it so that the thread coming from the spool was in front of the thread that traveled on to the machine.
This is an important step with almost any thread stand because it keeps the thread from jumping off the hook.
My machine has two thread spools, so to get the alignment I prefer, I carried the thread in front of the spool pin on the right and behind the spool pin on the left.
Then I set a spool of thread on each spool pin to keep the thread from jumping off. This would be a great place to set some vintage wooden spools if you are lucky enough to have them.
I keep a couple of other homemade tools on the right too. You can see the large spool of my favorite thread, Fil-Tec Glide, to the right of the stand. The weight of the spool is enough to keep it in place. I didn't try it with a nearly empty spool, but if I have a problem with it staying put when the thread is nearly gone and the spool is much lighter, I'll just set that down into a glass, jar, or piece of pottery too.
I keep a sweet little dish filled with the bobbins I'm using in front of the thread. I love class 15 bobbins because they hold so much thread. (I admit that sometimes if I need just a little thread and already have a class 66 bobbin with that color, my machines accept those just fine too, although they are a bit looser in the bobbin case--and I use them only for tiny sewing jobs; I usually load 3-4 bobbins for the size of prayer quilts we make most often.)
On top of the dish, I put a coffee filter so that I can drop all my pretty thread ends in there--the filter paper has enough texture to keep them from escaping.
It's dispensing thread very well....and I'm sure it will work great while I decide if I want to pay to ship a bargain of a thread stand clear across the country.
Happy quiltmaking.....
Post Script: I did go back and use the needle nose pliers to close the ring quite a bit. While the thread didn't jump out while sewing or quilting, it did jump out while winding the bobbin.
I ordered my thread stand a couple of decades ago from Home-Sew in Bethlehem, PA, but I don't know if they still carry them. Long Creek Mills sells one just like it for a really great price, but be aware that the base is cast iron, so it is heavy to ship.
Here's the homemade one I put together this morning so that I do not have to carry it from room to room.
I drilled a 1/16" pilot hole into the top of the dowel rod, partially opened an small o-ring with a pair of needle-nosed pliers, and twisted it into the pilot hole until the screw threads were imbedded in the wood and the opening of the ring was at the top.
I set the base with the dowel rod down into a heavy bottomed glass I've used in my sewing room for years. It could just as easily have been placed into a jar or a piece of pottery--it just needs to be heavy enough to keep the stand from tipping.
Before placing the thread on the hook, I twisted it so that the thread coming from the spool was in front of the thread that traveled on to the machine.
This is an important step with almost any thread stand because it keeps the thread from jumping off the hook.
My machine has two thread spools, so to get the alignment I prefer, I carried the thread in front of the spool pin on the right and behind the spool pin on the left.
Then I set a spool of thread on each spool pin to keep the thread from jumping off. This would be a great place to set some vintage wooden spools if you are lucky enough to have them.
I keep a couple of other homemade tools on the right too. You can see the large spool of my favorite thread, Fil-Tec Glide, to the right of the stand. The weight of the spool is enough to keep it in place. I didn't try it with a nearly empty spool, but if I have a problem with it staying put when the thread is nearly gone and the spool is much lighter, I'll just set that down into a glass, jar, or piece of pottery too.
I keep a sweet little dish filled with the bobbins I'm using in front of the thread. I love class 15 bobbins because they hold so much thread. (I admit that sometimes if I need just a little thread and already have a class 66 bobbin with that color, my machines accept those just fine too, although they are a bit looser in the bobbin case--and I use them only for tiny sewing jobs; I usually load 3-4 bobbins for the size of prayer quilts we make most often.)
On top of the dish, I put a coffee filter so that I can drop all my pretty thread ends in there--the filter paper has enough texture to keep them from escaping.
It's dispensing thread very well....and I'm sure it will work great while I decide if I want to pay to ship a bargain of a thread stand clear across the country.
Happy quiltmaking.....
Post Script: I did go back and use the needle nose pliers to close the ring quite a bit. While the thread didn't jump out while sewing or quilting, it did jump out while winding the bobbin.
Tuesday, April 10, 2012
"Modern" Quilt?
I see a lot of modern quilts that are very intriguing, and sometimes I see modern quilts that I don't like and that make me wonder why anyone would invest that much time for that result. Sometimes I see quilts that someone has labeled "modern" when, in fact, the maker[s] just didn't yet have the skills or patience needed to do a good job of piecing. I've been playing with a design that is more modern than traditional for a while, but don't yet have anything to show for it.
I do know that a great deal of the lure of a "modern" quilt is that there can be so much room for quilting, although I'm sure I would fill that space with some very traditional quilting.
However, my mind usually draws a blank when I think about creating one. The one above actually isn't a quilt; it's the backing for the Sweet Spring Baby Quilt. I can do this sort of thing when designing a backing, but, apparently, not when it's going to be "the quilt."
Well, I suppose the other trick will be that when I do get around to designing a modern quilt for my home, it will need to fit into cottage style since that is the style that makes my home a haven for me---in contrast to my daughter, who longs for glassy, glossy modern just one step from sterile.
Maybe I just need to continue designing quilt backs until I'm comfortable enough to design a modern quilt front.....Hmmmmm.
P.S: Bonnie Hunter posted a linky party for "What's on your Bed?" yesterday, and I linked to my 'Home Sights' post.
It is so much fun to see what people have on their beds this week. I'm sure you'll want to take a look: quiltville.blogspot.com/2012/04/whats-on-your-bed.html
I do know that a great deal of the lure of a "modern" quilt is that there can be so much room for quilting, although I'm sure I would fill that space with some very traditional quilting.
However, my mind usually draws a blank when I think about creating one. The one above actually isn't a quilt; it's the backing for the Sweet Spring Baby Quilt. I can do this sort of thing when designing a backing, but, apparently, not when it's going to be "the quilt."
Well, I suppose the other trick will be that when I do get around to designing a modern quilt for my home, it will need to fit into cottage style since that is the style that makes my home a haven for me---in contrast to my daughter, who longs for glassy, glossy modern just one step from sterile.
Maybe I just need to continue designing quilt backs until I'm comfortable enough to design a modern quilt front.....Hmmmmm.
P.S: Bonnie Hunter posted a linky party for "What's on your Bed?" yesterday, and I linked to my 'Home Sights' post.
It is so much fun to see what people have on their beds this week. I'm sure you'll want to take a look: quiltville.blogspot.com/2012/04/whats-on-your-bed.html
Monday, April 9, 2012
Sweet Spring Baby Quilt
Here's a sweet baby quilt I'm working on. It's made from a charm pack
and yardage I purchased several years ago. It would also make a fine
lap quilt or napping quilt. (And it looks better than it does in the
photo. I'll take another picture when it's closer to being able to go
out in public.)
The Chinese Elm tree is showing no signs of life, but if I remember correctly, it didn't start to leaf out until the end of May last year.
I don't know if the choke cherry ever bloomed, but this is what they look like now......
except for this little volunteer in my side yard. It's showing lovely white blossoms.
We had a glorious Easter. Although rain had been predicted, we received none. We had lovely sunshine, mild temperatures, and no wind. It's clouding up this afternoon, but we have no wind (yet, anyway) and bird songs are filling the air!
Sunday, April 1, 2012
A Fun Milestone
Last night was the Junior-Senior Prom.
These participants decided one of the town parks would be the best place for pictures. I loved that idea, although it turns out that one can take pictures of the gazebo with tiny people or pictures of people with just a bit of the gazebo showing.
The theme of this year's prom was "A Masked Ball," but none of the masks were practical for wearing (is any mask?).
The Gentleman and Sweet Teen.
We assured the Gentleman that when he's 70, he'll have a great time telling his progeny how he took three girls to prom because he'll have the picture to prove it!
I always want park pictures to include the wonderful statues--but clearly, they were not made for picture taking.
This is one of my favorite pictures--probably because it's the only one where the Gentleman doesn't look as if his nervousness is getting the better of him.
His mom took lots more pictures, with a lot fancier camera, and I'm looking forward to seeing those.
After-prom included a sleep-over at our house. Fortunately, the young ladies were so tired that I did get to sleep well myself.
Sweet Teen acted as photographer for a new profile picture today--something we've been meaning to do for a while. We tried several locations and then decided the best place was probably in front of some of my blue and white china! I recognize that we all age, not always gracefully, but I'm shocked at how much I've aged just since getting kicked in the head! That's scary--although I do hope I am no more scary than I used to be!
Time for me to either take a nap or get back to quiltmaking.....
These participants decided one of the town parks would be the best place for pictures. I loved that idea, although it turns out that one can take pictures of the gazebo with tiny people or pictures of people with just a bit of the gazebo showing.
The theme of this year's prom was "A Masked Ball," but none of the masks were practical for wearing (is any mask?).
The Gentleman and Sweet Teen.
We assured the Gentleman that when he's 70, he'll have a great time telling his progeny how he took three girls to prom because he'll have the picture to prove it!
I always want park pictures to include the wonderful statues--but clearly, they were not made for picture taking.
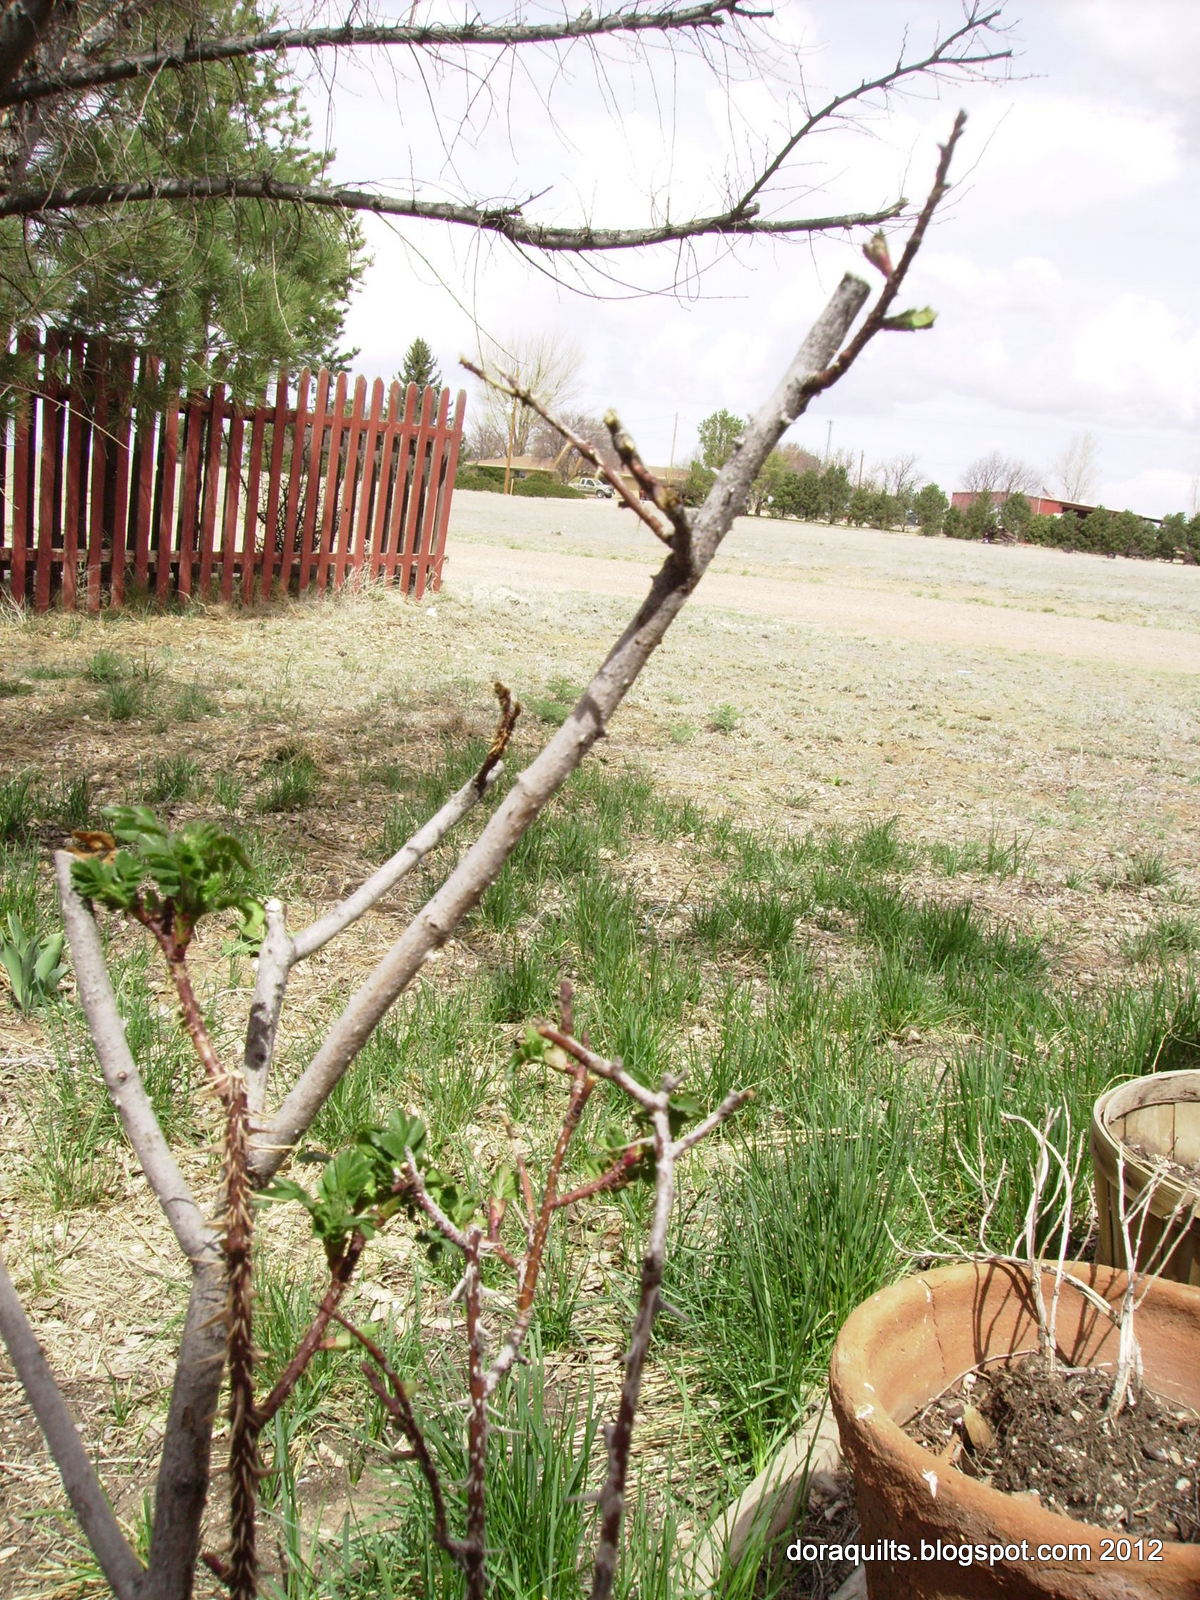
You can see that we are a lot farther from spring than the places where most of my friends live.
His mom took lots more pictures, with a lot fancier camera, and I'm looking forward to seeing those.
After-prom included a sleep-over at our house. Fortunately, the young ladies were so tired that I did get to sleep well myself.
Sweet Teen acted as photographer for a new profile picture today--something we've been meaning to do for a while. We tried several locations and then decided the best place was probably in front of some of my blue and white china! I recognize that we all age, not always gracefully, but I'm shocked at how much I've aged just since getting kicked in the head! That's scary--although I do hope I am no more scary than I used to be!
Time for me to either take a nap or get back to quiltmaking.....
Sunday, March 25, 2012
More on Prayer Quilt Ministries
The first prayer quilt ministry is that of a church in Albuquerque, New Mexico.
This ministry is older than the one at my church by several years, and while the intent of the ministry is similar, the way it operates is very different.
First, a quilt is not even begun until they learn of a need or until one has been requested.
All the quilts are made using an identical pattern or set. The quilts are composed of rows of squares, 5- or 6-inch squares, if I remember correctly. Each quilt can be assembled in a little more than an hour.
The quilts are not bound, but are just layered and then turned right side out.
The maker inserts a length of yarn or a very narrow ribbon at the corners of each block, through all layers. Then ends of the yarn or ribbon are left on the front and are long enough to tie a bow.
A label is pinned on the quilt, stating who will receive it.
During the church service in which the quilts are blessed/commissioned, each person who lays hands on the quilt and prays for the recipient ties one bow and then moves on to pray over another quilt and tie a bow for that one.
When we asked one of the leaders of that prayer quilt group to come share with us, she was pretty insistent that that was how the quilts had to be done. All the materials for their quilts were donated.
I'm guessing that every group making prayer quilts has similarities to and differences from our group. Given the diversity in the world, that seems appropriate.
The other prayer quilt group of which I have knowledge, albeit very limited, is that of a Southern Baptist Church in a little town near Nashville, Tennessee. You can see frequent evidence of this ministry's work at Confessions of a Fabric Addict. (Sarah sponsors the weekly "Whoop Whoop" linky party.)
Sara has graciously allowed me to post pictures of one of their prayer quilts. This prayer quilt was made when fifteen members of their ministry got together on a Saturday and made a Jacob's Ladder quilt for a special lady.
I especially love the back of the quilt where they penned Bible verses, Christian song lyrics, encouraging words, and even some drawings.
This ministry is older than the one at my church by several years, and while the intent of the ministry is similar, the way it operates is very different.
First, a quilt is not even begun until they learn of a need or until one has been requested.
All the quilts are made using an identical pattern or set. The quilts are composed of rows of squares, 5- or 6-inch squares, if I remember correctly. Each quilt can be assembled in a little more than an hour.
The quilts are not bound, but are just layered and then turned right side out.
The maker inserts a length of yarn or a very narrow ribbon at the corners of each block, through all layers. Then ends of the yarn or ribbon are left on the front and are long enough to tie a bow.
A label is pinned on the quilt, stating who will receive it.
During the church service in which the quilts are blessed/commissioned, each person who lays hands on the quilt and prays for the recipient ties one bow and then moves on to pray over another quilt and tie a bow for that one.
When we asked one of the leaders of that prayer quilt group to come share with us, she was pretty insistent that that was how the quilts had to be done. All the materials for their quilts were donated.
I'm guessing that every group making prayer quilts has similarities to and differences from our group. Given the diversity in the world, that seems appropriate.
The other prayer quilt group of which I have knowledge, albeit very limited, is that of a Southern Baptist Church in a little town near Nashville, Tennessee. You can see frequent evidence of this ministry's work at Confessions of a Fabric Addict. (Sarah sponsors the weekly "Whoop Whoop" linky party.)
Sara has graciously allowed me to post pictures of one of their prayer quilts. This prayer quilt was made when fifteen members of their ministry got together on a Saturday and made a Jacob's Ladder quilt for a special lady.
I especially love the back of the quilt where they penned Bible verses, Christian song lyrics, encouraging words, and even some drawings.
I'm certain there are many, many variations
on these themes, dependent upon the needs of the people being served and
the people participating in the ministries.
I love that we are able to support others and grow our own faith through our prayers and the work of our hands and hearts.
Happy quiltmaking.....
I love that we are able to support others and grow our own faith through our prayers and the work of our hands and hearts.
Happy quiltmaking.....
Saturday, March 24, 2012
Taste of Hawaii
She'd given it to me already spray basted, and I started to think the spray might stop working before I got started! Sometimes the only way to get started is to start. So I started--by stabilizing it with So Fine Thread. Then I stitched around on it some more.
I used size 50 so it wouldn't show up much and so the decorative quilting in a heavier thread would show up well.--All fine and dandy except there is no decorative quilting! Note: Superior Threads has a great website that suggests needle sizes. They suggest 80/12 which would be okay for piecing. However, I will admit that I use a 90/14 with this thread for both piecing and quilting. The link to So Fine Thread in the previous paragraph, gives you a chance to try this thread at a discounted price, just in case you're not already using it.
Anyway, now that I'm at this point, I *still* don't know what I'm going to do for quilting--except that I'll put a smallish meandering feather in the border. The border is only about 3.5 inches wide. I'm sure the quilt would be just fine as it is now, but I do think I want to add something special somewhere. Maybe I just need to stare at it some more.
I'm not quite sure why this quilt makes me think of Hawaii--and I'm not at all sure Hawaii has any of those petroglyph drawings anywhere in that state...Still makes me think of Hawaii!
Happy quilting, all.....
P.S.: I made some decisions and added some quilting designs. I'll add some photos below when I get the opportunity.
Subscribe to:
Posts (Atom)